Set up your workspace with Get started
Walk the four steps of Get started: your business profile, bringing your data in, the daily loop and the finish check, and learn what Activated means.
Get started is Trackost's setup wizard: four steps that take a new workspace from empty to working. Its ticks come from your real data, never from which buttons you clicked, and nothing forces you to finish it. Open it from the sidebar under More › Get started. Until all four steps are done, a red pill beside it shows how many are, for example 0/4. New email sign-ups land in the wizard straight away. If you signed up with Google, open it from the sidebar, or with Set up or import my data on the dashboard's setup board.
Move between steps with the step buttons at the top, or with Back and Next at the bottom. Skip for now takes you to the Dashboard at any time, and your unsaved answers stay in place while you switch steps.
Step 1: Your business
Click Your business. The Your business profile card opens.
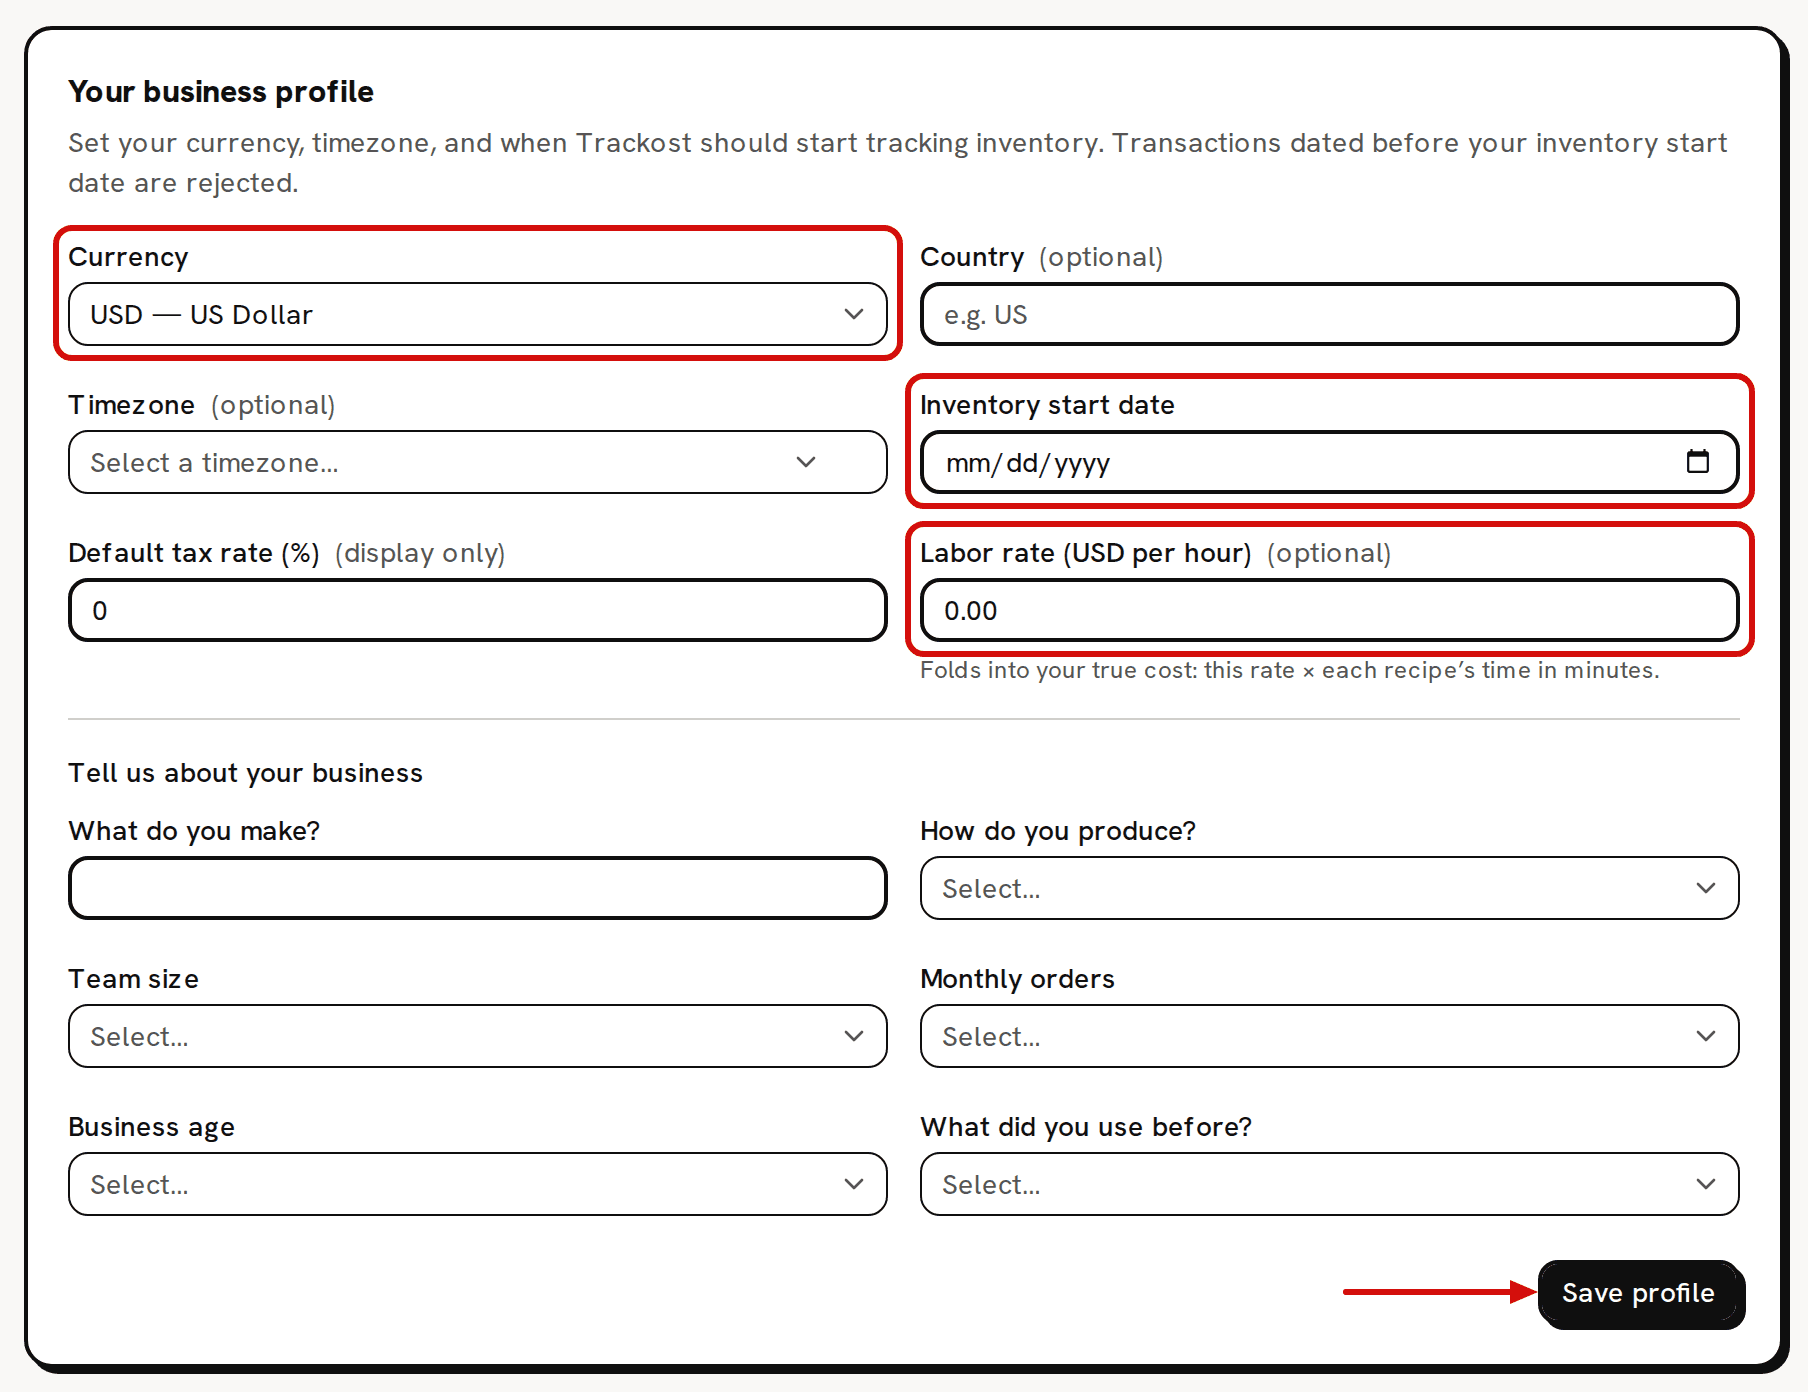
Currency and the inventory start date are the two settings that matter most. Choose your Currency. If you change it later, amounts you already entered are not converted: 15.00 stays 15.00 in the new currency.
Set the Inventory start date on or before the day you will count your stock; the first of the month is safest. Most things that move stock or cost dated before this day are refused. About the inventory start date explains how to choose it.
Fill in Country, Timezone and Default tax rate (%) if you like. They are optional, and the tax rate is for display only.
Type your labor rate, what an hour of your work costs, if you want labor in your product costs. The field is labeled with your workspace's currency, Labor rate (USD per hour) in a US dollar workspace. Write decimals the way your Trackost language does, 15.00 in English. In English, 12,50 is refused with 'Labor rate must be a valid amount (for example 15.00).' Leave it blank for no labor cost.
Answer the questions under Tell us about your business if you like.
Click Save profile. 'Profile saved' appears and step 2 opens. When your plan has ended, saving is refused with 'Your plan has ended — subscribe to continue making changes.'
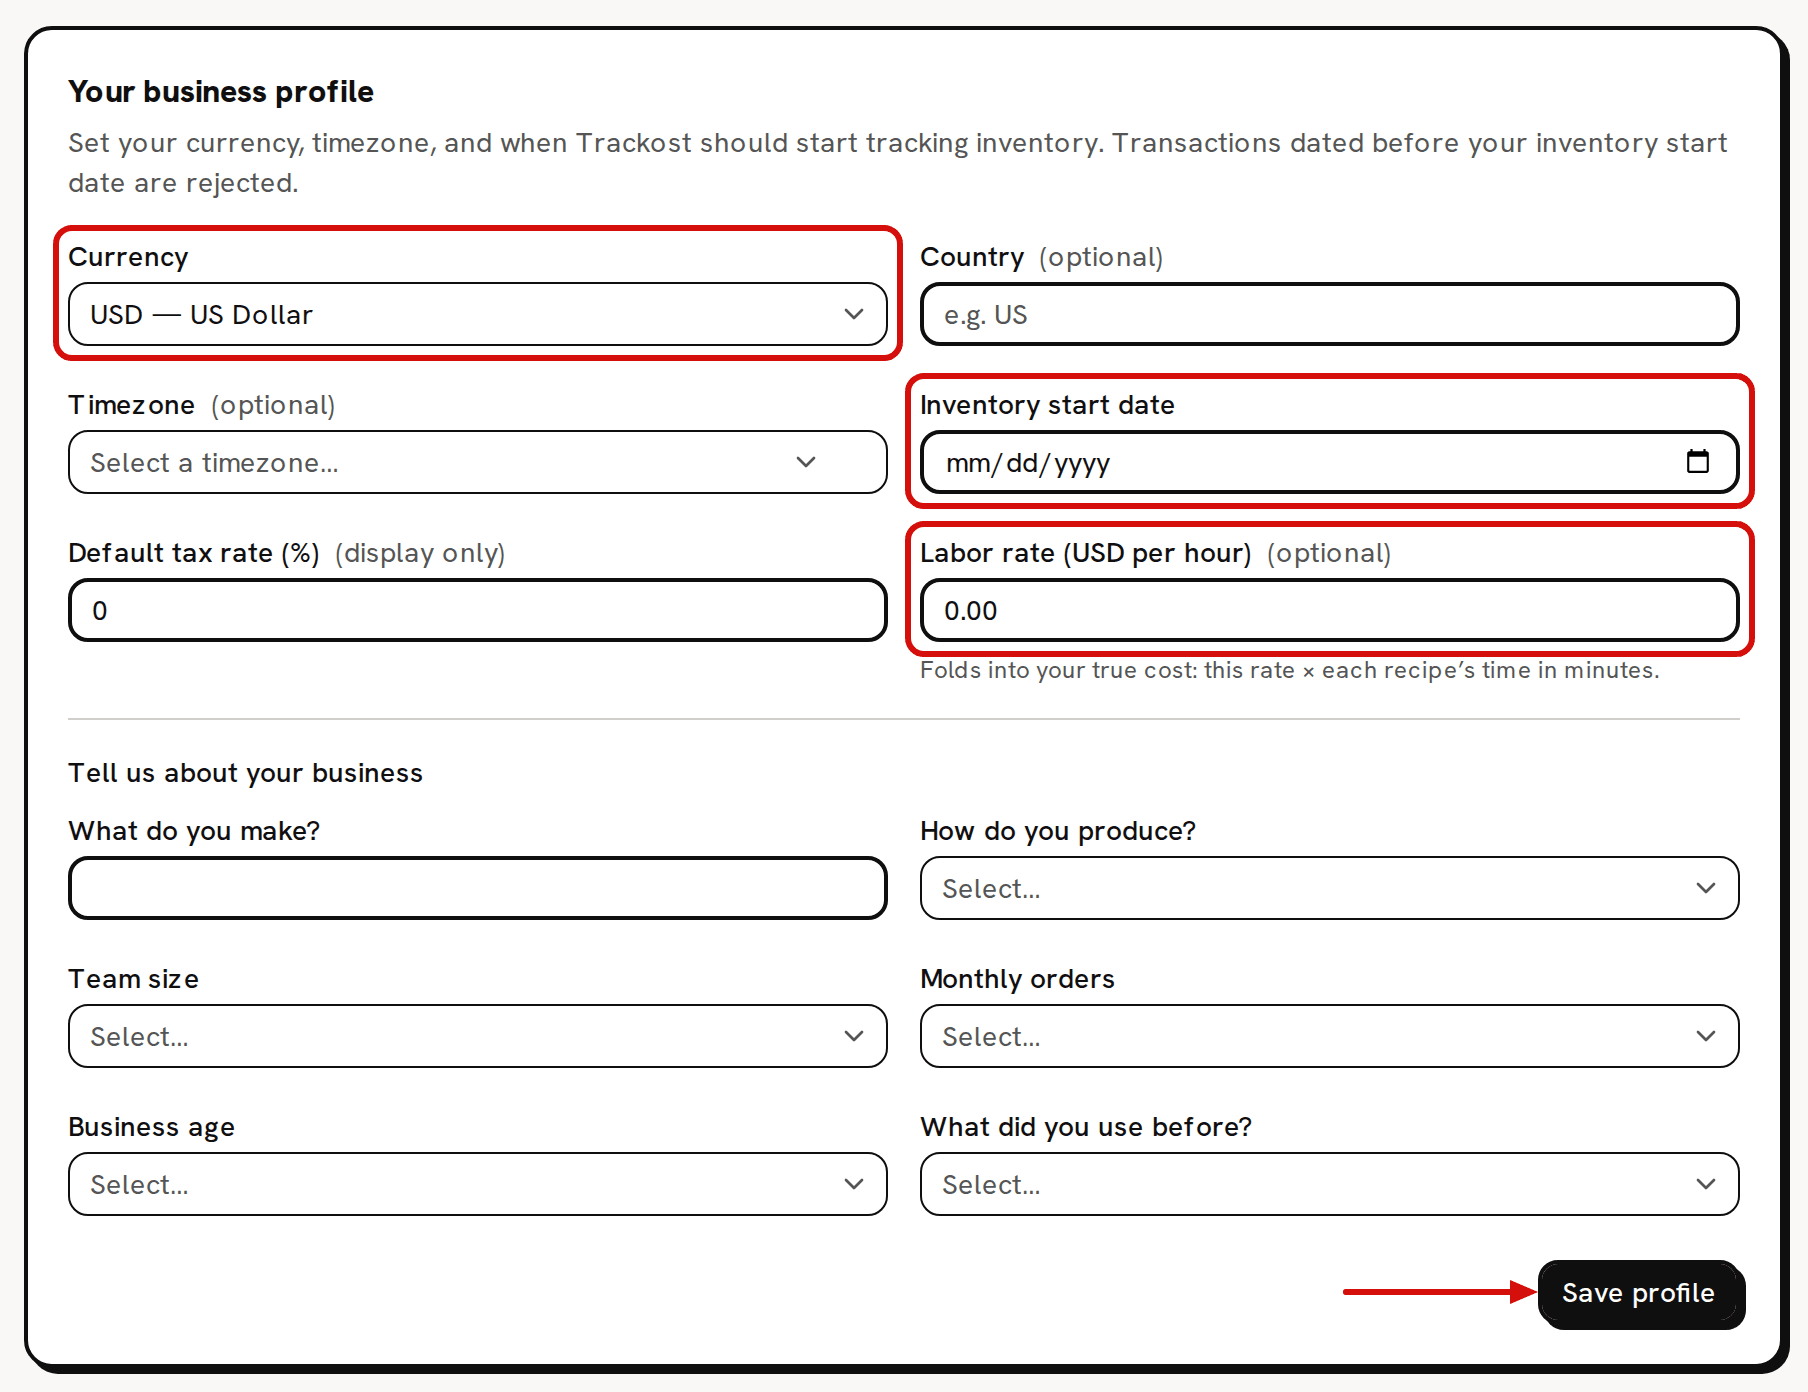
Step 1 only counts as done once an inventory start date or at least one answer is saved. Saving the card untouched still shows 'Profile saved', but the step stays open and the progress bar doesn't move.
Step 2: Bring your data in
Moving from another tool or a spreadsheet? Click Request free migration. It opens Settings › Migration, where you ask us to move your data in for free. Request your free migration walks through the form.
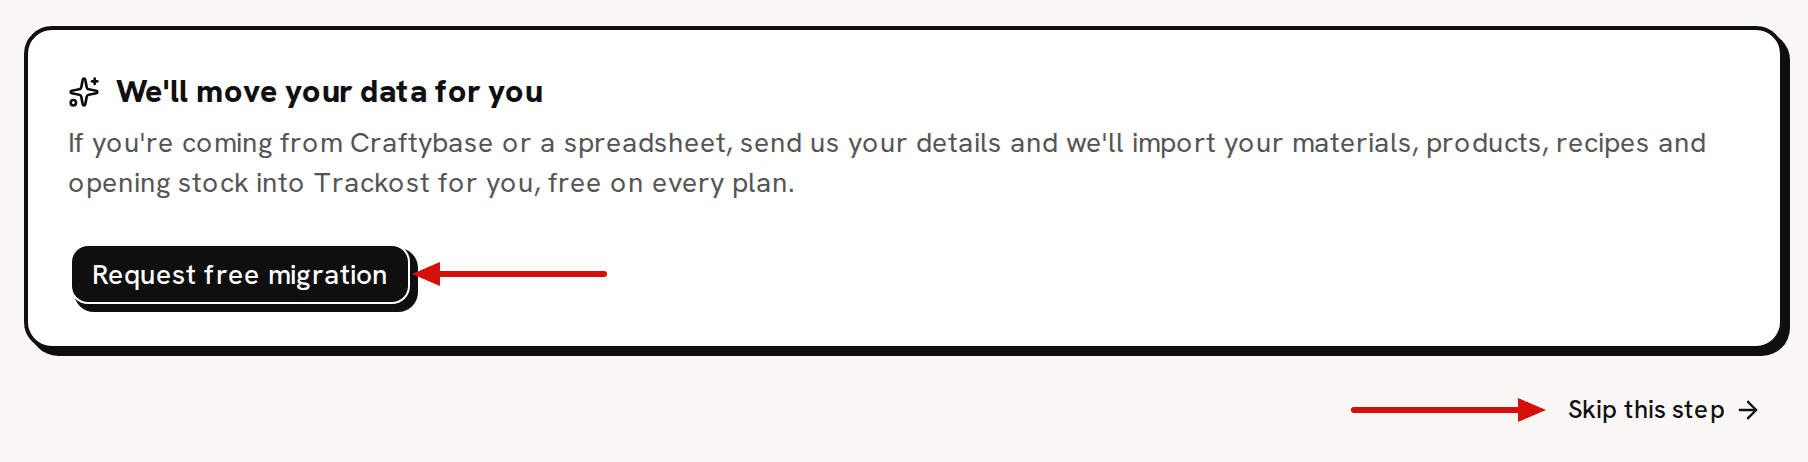
Step 2: request the free migration, or skip it. Setting up by hand instead? Click Skip this step.
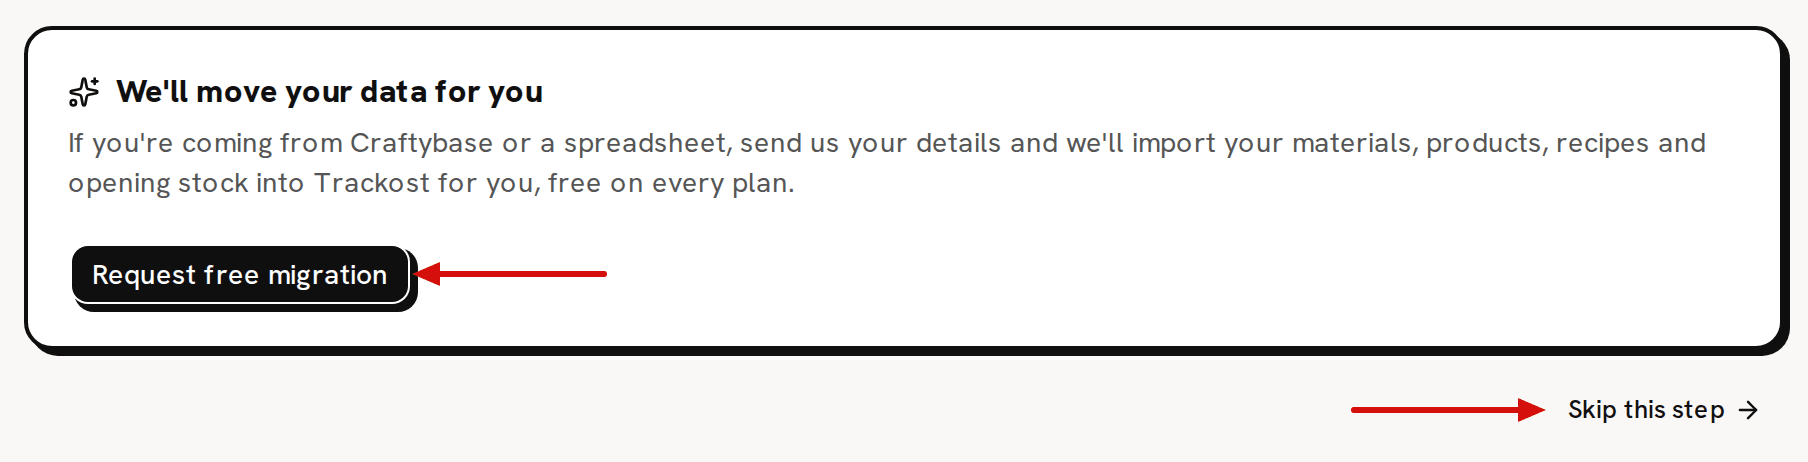
Sending the migration request marks this step done and makes the whole wizard read Activated at 100%, even though nothing has moved yet.
Step 3: Set up the loop
The Set it up yourself card has one row for each part of the daily loop. Each row's button opens the page where you do it. When you come back, a finished row shows Done and its button reads Review. The card says you're activated once you log a first batch and connect a shop, but one material and one recipe are enough too, as How the progress bar works explains.
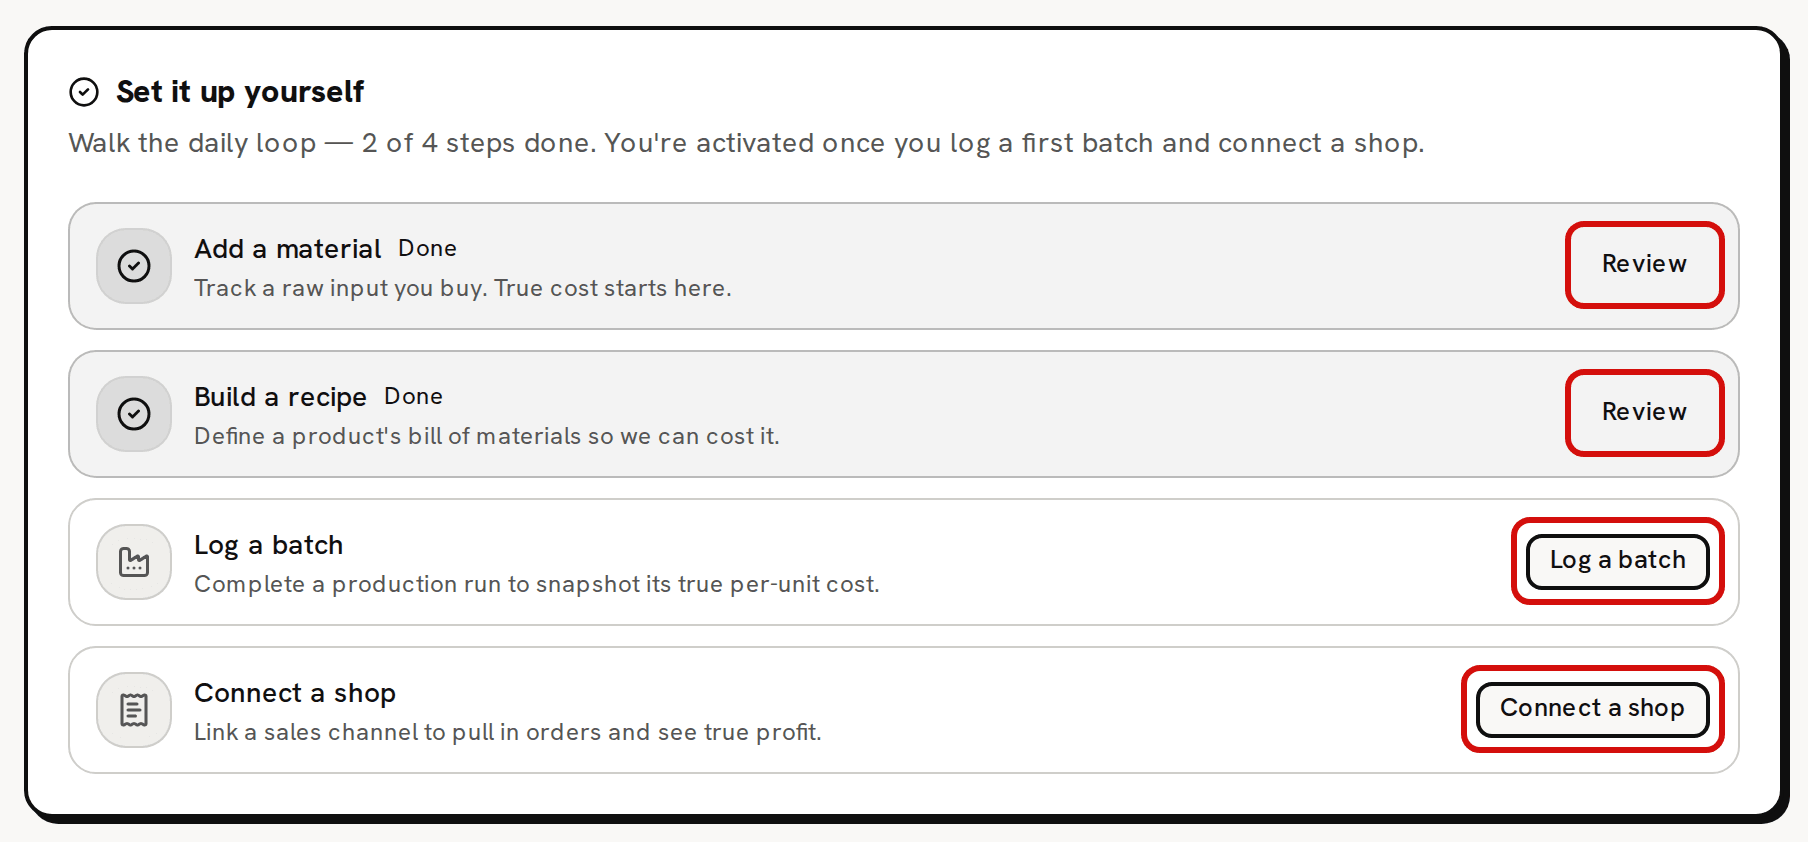
Click Add a material to open Materials and add a raw input you buy.
Click Build a recipe to open Recipes and list what goes into a product.
Click Log a batch to open Production and make a batch. This row is done only once a batch is completed. A batch you scheduled or started doesn't count yet.
Connect a shop opens Settings › Channels. Connecting a sales channel (Shopify, Etsy or Faire) isn't covered in this help center yet. Email support@trackost.com and we'll walk you through it.
Step 4: Finish
Click Finish. If your workspace is activated, it says 'You're set up.' and offers Go to dashboard.
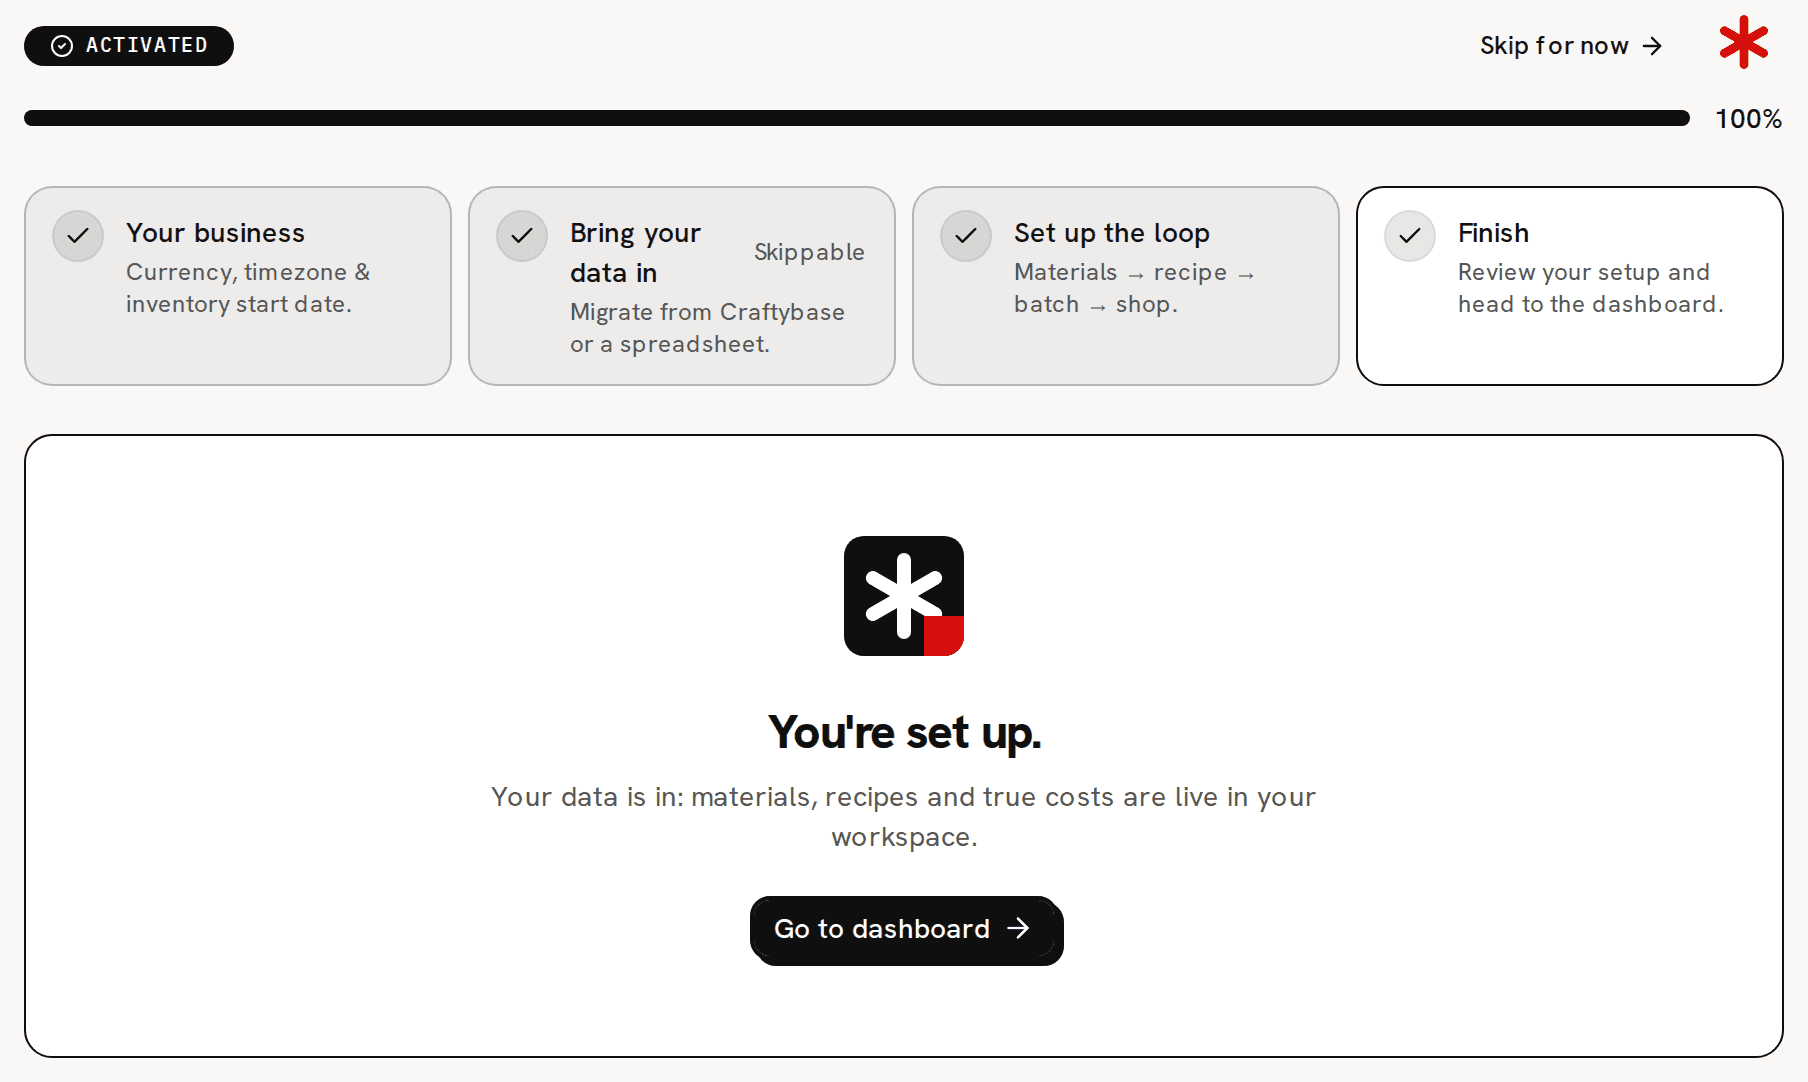
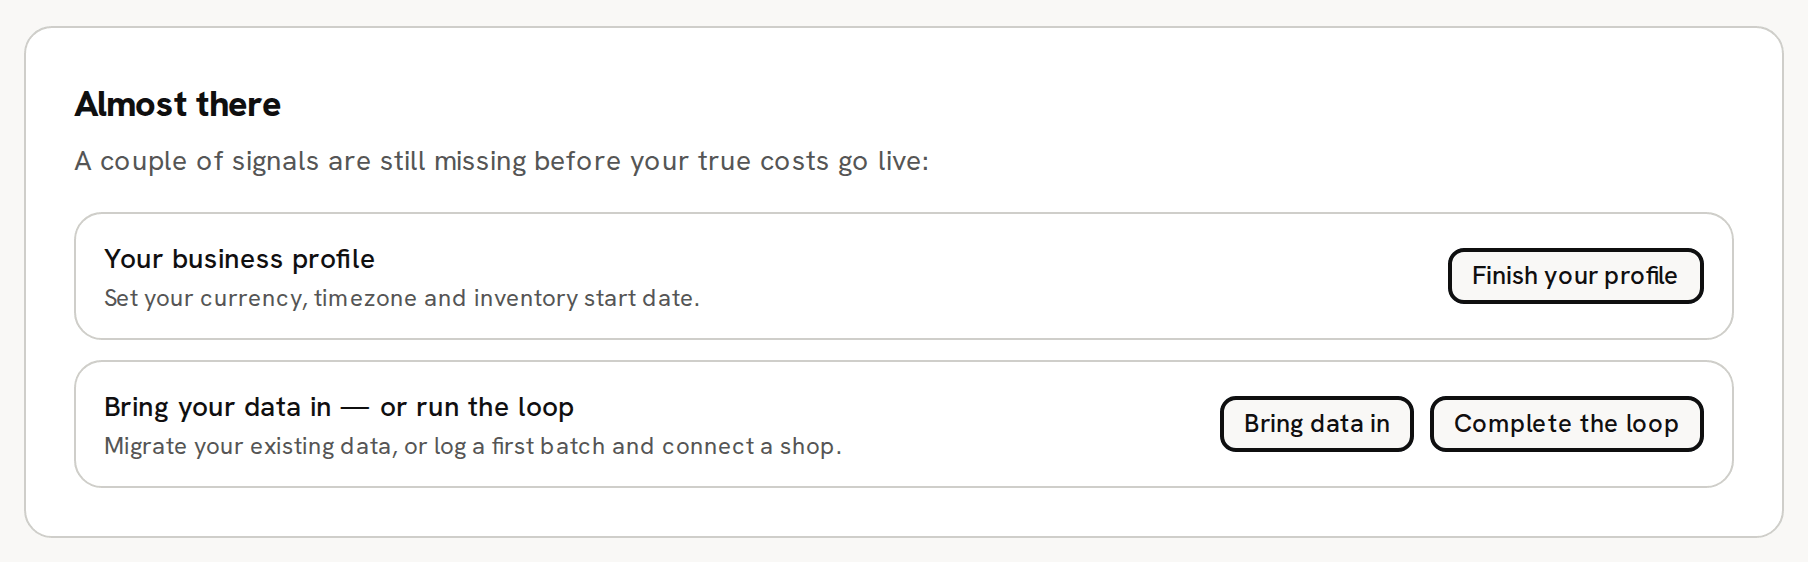
Activated: 100% and a button to the Dashboard. If it isn't activated yet, the step is titled Almost there and lists what is missing, with buttons to jump there: Finish your profile, Bring data in and Complete the loop.
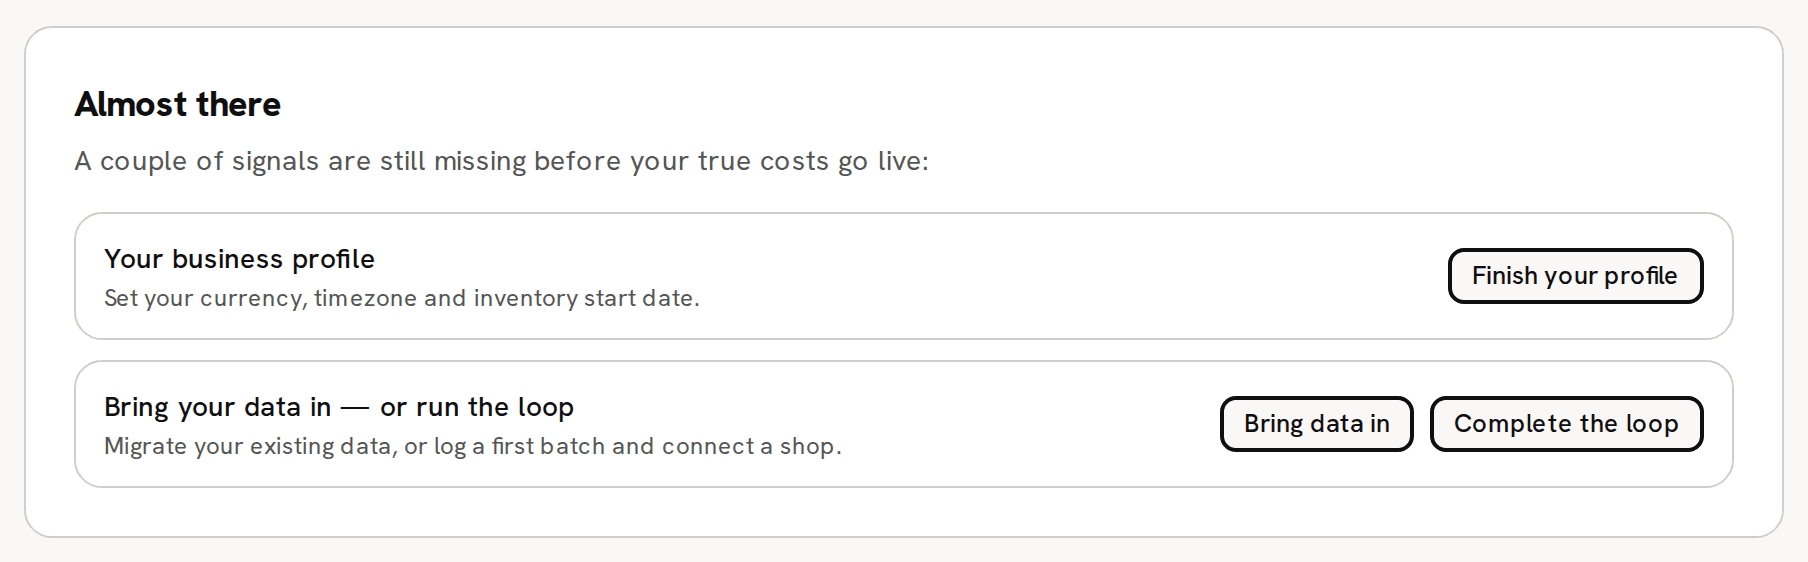
Not activated yet: the last step lists what is missing.
How the progress bar works
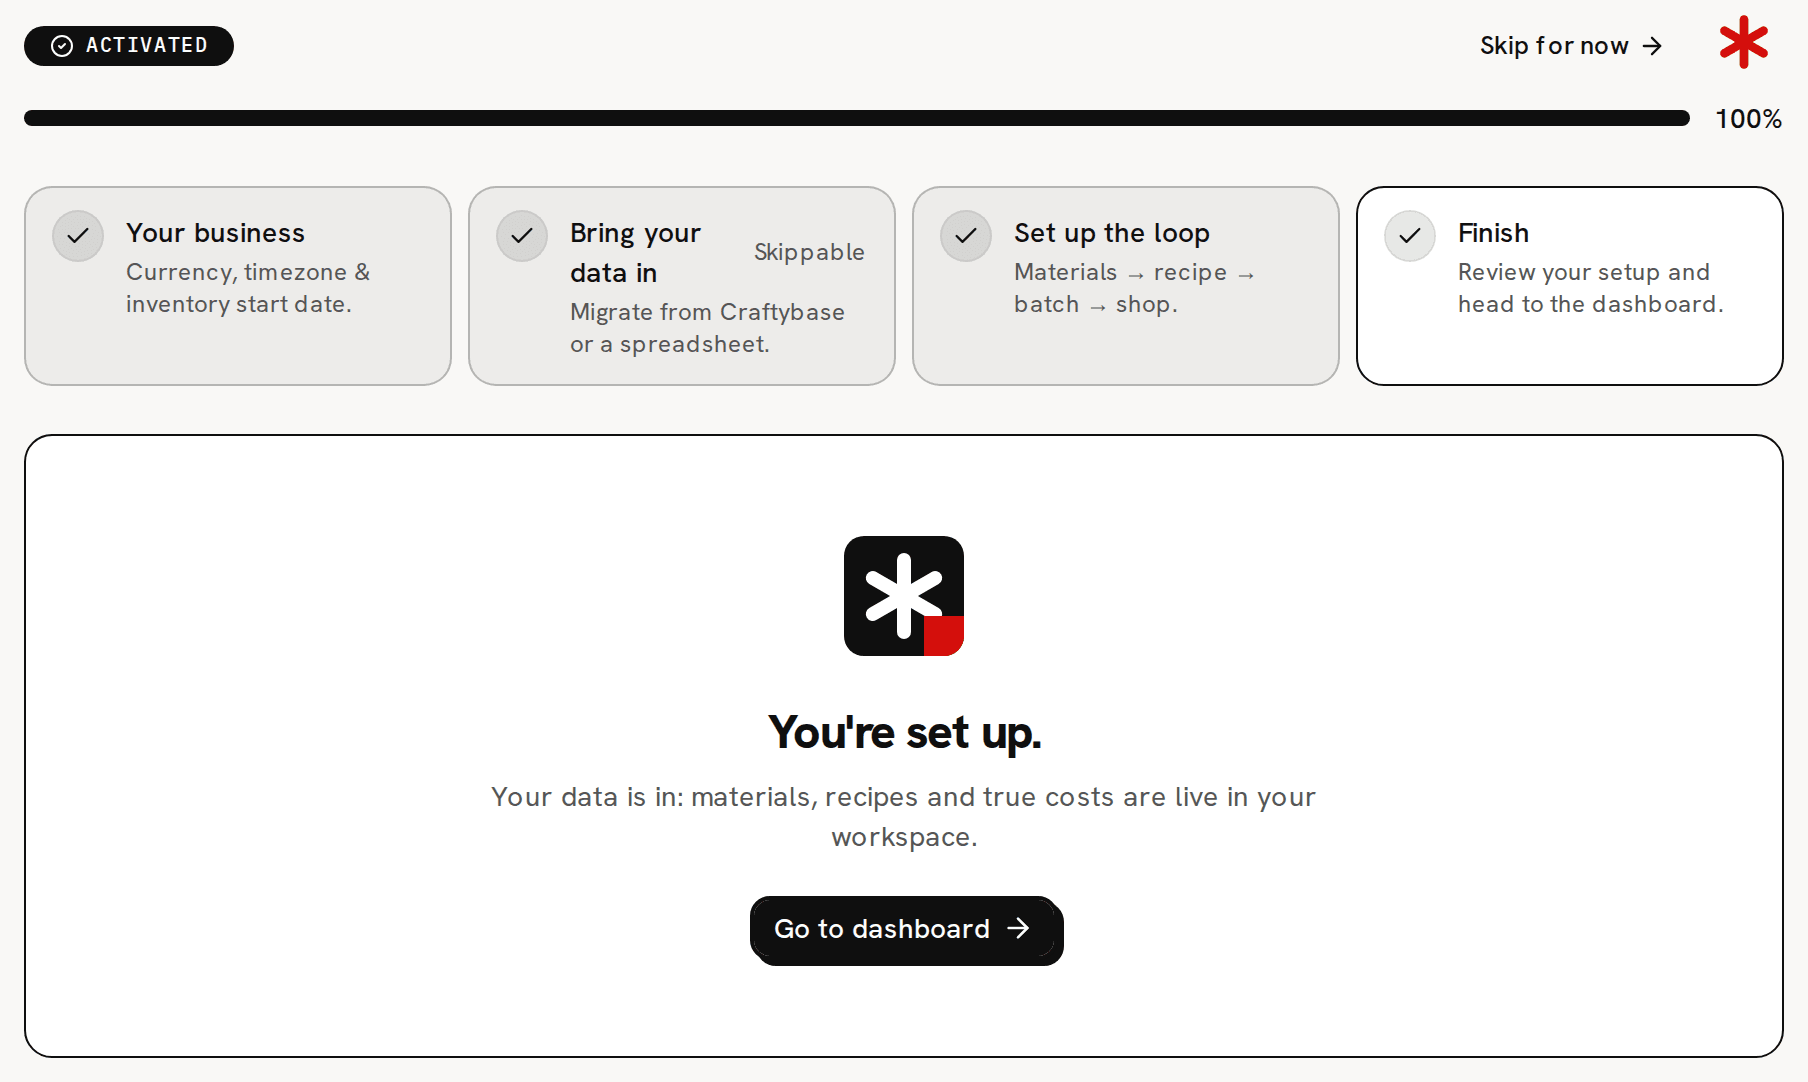
The bar has five parts of 20% each: a saved profile, and the four rows of step 3. Once the workspace is activated the bar reads 100% whichever parts are ticked.
A workspace is activated in either of two ways:
- it has at least one material and one recipe, or a migration request has been sent;
- or it has a completed batch and a connected shop.
So one material and one recipe are already enough. A workspace can read Activated before any batch is logged, with the Log a batch and Connect a shop rows still open. The red pill in the sidebar counts the four wizard steps rather than the 20% parts, and it disappears when all four are done.
Coming back later
Open More › Get started at any time. Your saved answers are filled in. Saving step 1 again saves every field on it, the labor rate included, which is the same rate as the one on Settings › General.